
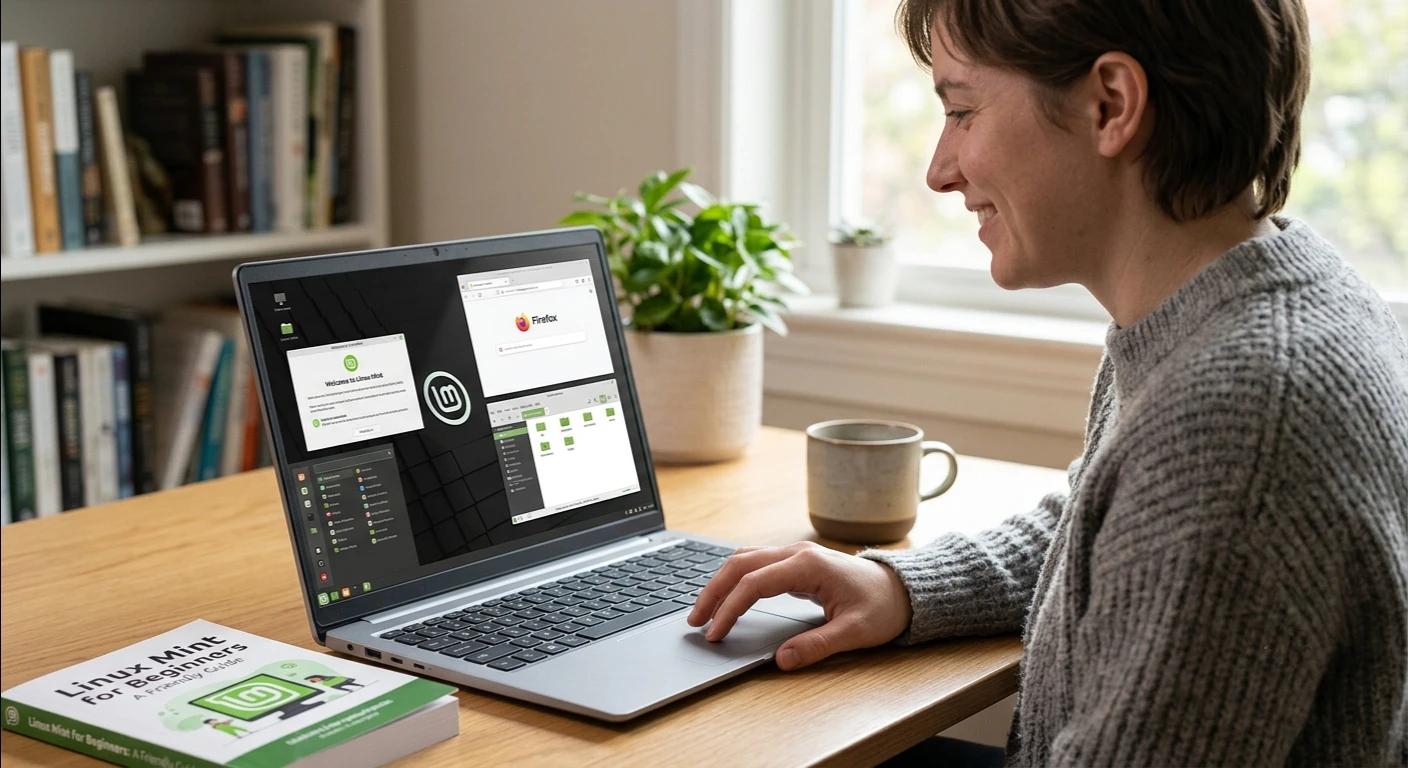
If you’re switching from Windows or Mac, Linux Mint is a welcoming choice. It is one of the most sought-after options for new users to Linux and there’s a reason behind it. Linux Mint is familiar, easy to use, and works with most computers. This guide covers installation, daily use, and essential tools.
Why Linux Mint Is a Great Starting Point?
If you’re a beginner, choosing from hundreds of Linux distributions can feel daunting. The beauty of Linux Mint is that it was created with novices in mind. Mint comes with essential software pre-installed, including an office suite, web browser, media players, and more.
Another big factor of its popularity is the default desktop, Linux Mint Cinnamon. Cinnamon gives you a familiar Windows-style taskbar, Start menu, and system tray. You don’t need to learn a lot to locate your files or run an application. This is important to Linux newcomers because the most common reason for switching OS’s is not software, it’s the operating systems interface.
Linux Mint is built on Ubuntu, which is based on Debian. When you have a problem, you’re likely to find that somebody already had it and solved it and posted the solution online.
Before You Start, You Need to Have a Few Things
Before you start the installation of Linux Mint, it’s important to have a few basics in hand:
- USB storage device (storage of at least 4GB, preferably 8GB or higher).
- At least 2GB of RAM (4GB RAM or more is recommended) and 20GB of free disk space.
- Stable Internet connection to download files and updates
- Rufus (Windows) or balena-etcher (Mac/Linux) – A tool to create a bootable USB.
If you are not dual-booting, but replacing an existing operating system, it’s also a good idea to backup all important files to the computer you are installing Mint on.
Download and Generate Your Installation Media
Grab the Cinnamon version from the official Linux Mint website, the recommended version for most users, and the most viable option if you’re new to desktop Linux. After its download, write it to your USB stick with Rufus or Etcher. This process typically takes only 10 – 15 minutes.
If possible, check the Checksum of your downloaded file. Verify the download to prevent corruption and avoid troubleshooting later.
Installing Linux Mint
Create a bootable USB, boot your computer, and press F12, F2, Esc, or Del to open the boot menu. Choose the USB drive to boot from.
You will be first brought into a “Live” environment. It is a great test, if your hardware is compatible with this version of Mint before committing, as it is running from the USB without touching your hard drive. If all is fine, you will see that the Wi-Fi is connected, your screen resolution is correct and your track pad functions, then you should double click on the “Install Linux Mint” icon on the desktop.
The installer will ask a few simple questions:
- Language and keyboard layout — choose between them as applicable.
- Updates and third party software — most of the time, it’s okay to tick the box to install multimedia codecs for playing videos and music out of the box.
- Installation type: You can either delete the disk and install Mint as new, install Mint dual-boot with Windows, or use a custom partition layout if you are comfortable with this.
- Location and user account: configure your time zone, username and password.
The Cinnamon Desktop
Take a moment to view the System Settings panel. You’ll be making customizations in the power management, display and touchpad settings, themes, as well as startup applications. The Welcome Screen appears the first time you log on to Mint, and provides links to useful first steps, such as setting up a driver and a tour of the key features.
The Mint Way of Installing Software
A very useful thing to learn early is the Linux Mint package manager (Software Manager). It’s very similar to an application store: you can search for anything and click install, and the system will take care of the rest, including installing any necessary dependencies. If you’re not feeling comfortable entering the terminal, then it’s the simplest way to install Linux Mint software.
However, with a couple of basic Linux commands, you’ll become much more capable over time:
sudo apt update
sudo apt upgrade
sudo apt install <program-name>
Making It Your Own
One of the reasons why Linux Mint is customizable is because you have a lot of control over the appearance and feel of your desktop. Themes, icon packs, window borders and desktop effects can be changed using System Settings. You can also install “applets” and “desklets”, which are mini widgets that can be placed on your panel or desktop to show you, for example, the weather forecast, system monitors, or a calendar.
Unlike some operating systems, Mint makes no secret of these options and doesn’t require you to pay to unlock them deeper in a menu. Just about anything is possible and easy to undo so try anything out.
Troubleshooting Common Issues
All operating systems have their share of bugs and glitches and Linux Mint troubleshooting is typically easier than it sounds. A few common fixes:
- If no WiFi after install: Review Driver Manager for proprietary WiFi drivers (particularly on laptops with Broadcom chips).
- Software fails to open: Reinstall from the Software Manager, or look for an error message in the terminal.
- System is slower than usual: Review and remove any programs that aren’t essential to having constantly running in System Settings.
Final Thoughts
If you’re considering switching to Linux Mint, it’s always a bit of a learning curve, but Linux Mint is remarkably smooth. If you’re just taking your first steps into Linux, it’s a good basis with the familiar Cinnamon desktop, the software manager, and a helpful community. Be patient, investigate the options and don’t hesitate to go to the terminal occasionally if you like, you will acquire the “primitives” at a surprisingly quick rate, and before long, Mint will feel like home.